
React Native: use multiple RCTRootView instances in an existing iOS app
·
In this post I show you how it is possible to use multiple RCTRootView instances in an existing iOS app.
If we want to start to use React Native in an existing app, it's really easy. We can have our first React Native
component live inside our app by just following
the getting started tutorial for existing app.
What happen if we need to use multiple react native component in different parts of our existing apps 😨?
In this tutorial I will show you how we can use multiple instances of RCTRootView to show different React Native
components in different parts of your app. Consider, for example, a simple iOS existing app with React Native. It has
two very simple React Native components:
BlueScreen, that shows a blue viewRedScreen, that shows a red view
class BlueScreen extends React.Component {
  render() {
    return (
      <View style={styles.blue} />
    );
  }
}

class RedScreen extends React.Component {
  render() {
    return (
      <View style={styles.red} />
    );
  }
}

const styles = StyleSheet.create({
  blue: {
    backgroundColor: "#0000FF",
    width: "100%",
    height: "100%"
  },
  red: {
    backgroundColor: "#FF0000",
    width: "100%",
    height: "100%"
  }
});

AppRegistry.registerComponent('BlueScreen', () => BlueScreen);
AppRegistry.registerComponent('RedScreen', () => RedScreen);
On the native side there's a controller, ReactViewController, that shows a React Native component given its name.
class ReactViewController: UIViewController {
    init(moduleName: String) {
        super.init(nibName: nil, bundle: nil)
        view = RCTRootView(bundleURL: URL(string: "http://localhost:8081/index.bundle?platform=ios"),
                           moduleName: moduleName,
                           initialProperties: nil,
                           launchOptions: nil)
    }

    required init?(coder aDecoder: NSCoder) {
        fatalError("init(coder:) has not been implemented")
    }
}
There's also another controller, MainViewController, that shows the React Native components described above using
multiple instances of the ReactViewController. The UI of the app is very simple: there are two buttons on the view of
the MainViewController. A tap on the first one shows the ReactViewController with a RCTRootView that contains
the RedComponent. A tap on the second one shows the ReactViewController with a RCTRootView that contains
the BlueComponent.
This basically means that in this app there are multiple RCTRootView, one for each controller created. This instances
are kept alive at the same time (because the MainViewController keeps a reference to the two ReactViewController).
The code to start the React Native components is the same contained in
the getting started tutorial for existing app
.
class MainViewController: UIViewController {
    private let blueViewController: ReactViewController
    private let redViewController: ReactViewController

    required init?(coder aDecoder: NSCoder) {
        blueViewController = ReactViewController(moduleName: "BlueScreen")
        redViewController = ReactViewController(moduleName: "RedScreen")
        super.init(coder: aDecoder)
    }

    @IBAction func showRedScreen(_ sender: Any) {
        navigationController?.pushViewController(redViewController, animated: true)
    }

    @IBAction func showBlueScreen(_ sender: Any) {
        navigationController?.pushViewController(blueViewController, animated: true)
    }
}
If we try to run the app something very strange will happen:
- if we do a live reload, we will see our React components refreshed multiple times
- if we press cmd + ctrl + z (shake gesture simulation) in the simulator 2 dev menu will be shown
- if we do a live reload while we're in debug mode the app could crash
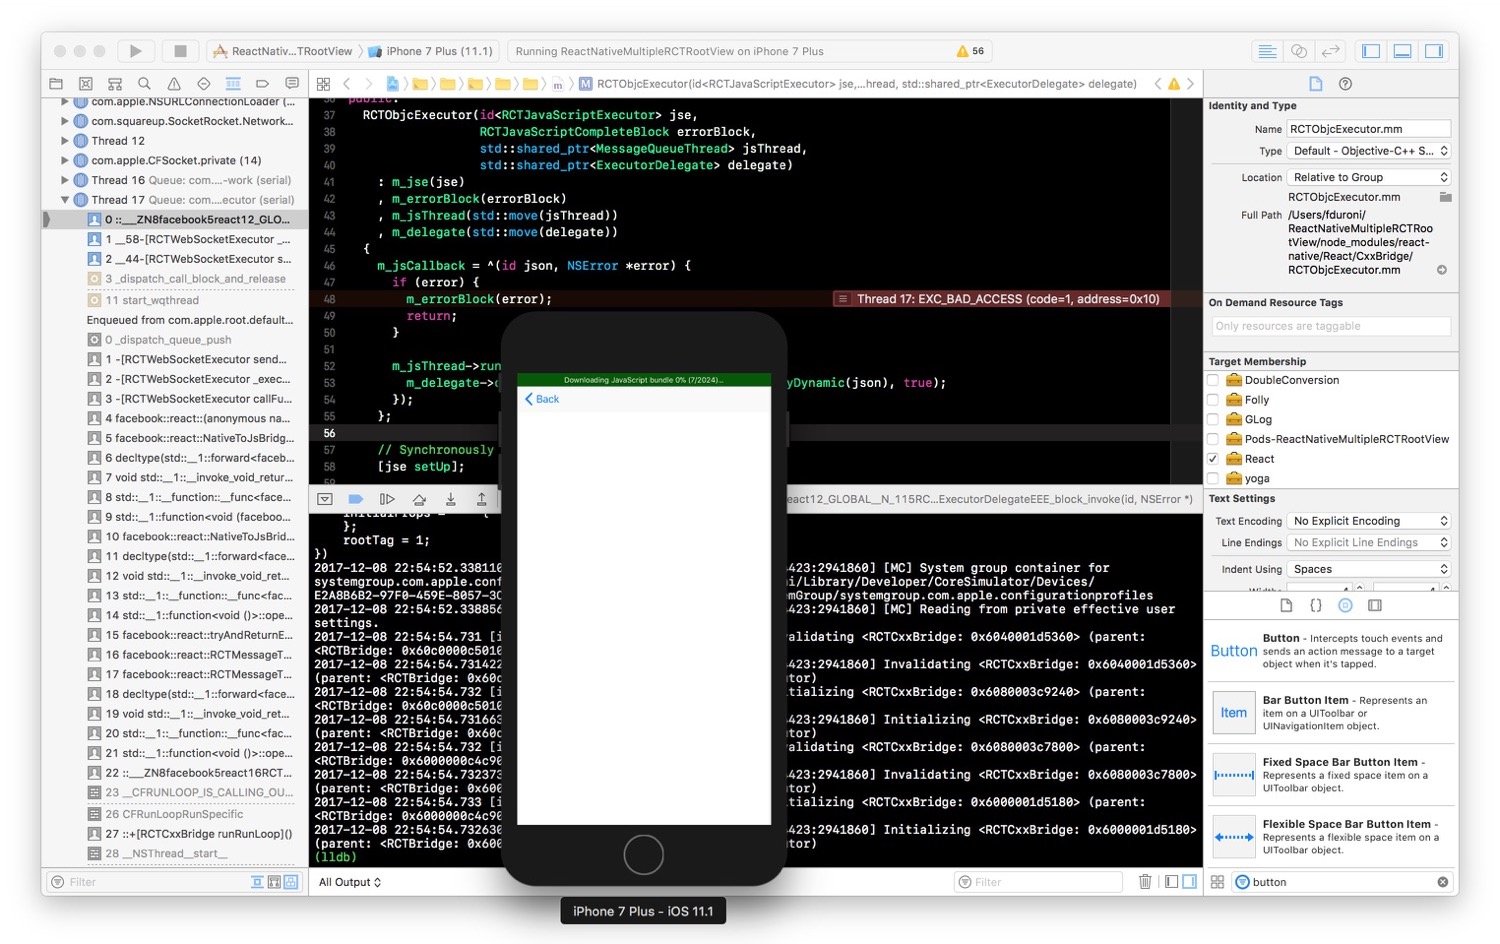
What's happening here? Well, there's something wrong in our code. If we take a look at the comments in the code of React
Native for the RCTRootView initializer, we will notice something very strange:
/**
 * - Designated initializer -
 */
- (instancetype)initWithBridge:(RCTBridge *)bridge
                    moduleName:(NSString *)moduleName
             initialProperties:(NSDictionary *)initialProperties NS_DESIGNATED_INITIALIZER;

/**
 * - Convenience initializer -
 * A bridge will be created internally.
 * This initializer is intended to be used when the app has a single RCTRootView,
 * otherwise create an `RCTBridge` and pass it in via `initWithBridge:moduleName:`
 * to all the instances.
 */
- (instancetype)initWithBundleURL:(NSURL *)bundleURL
                       moduleName:(NSString *)moduleName
                initialProperties:(NSDictionary *)initialProperties
                    launchOptions:(NSDictionary *)launchOptions;
What 😆?????!?!?!??? This basically means that the documentation in the getting started is considering only the
case where we will have a single RCTRootView instance. So we need to do something to our ReactViewController so that
we can keep multiple RCTRootView alive at the same time. The solution to our problem is contained in the comments of
the initializer above: we need to use the designated RCTRootView initializer to start to use multiple instances of
them at the same time in the app. So the new ReactViewController with the new RCTRootView initialization is the
following one:
class ReactViewController: UIViewController {

    init(moduleName: String, bridge: RCTBridge) {
        super.init(nibName: nil, bundle: nil)
        view = RCTRootView(bridge: bridge,
                           moduleName: moduleName,
                           initialProperties: nil)
    }

    required init?(coder aDecoder: NSCoder) {
        fatalError("init(coder:) has not been implemented")
    }
}
Where do we get an instance of RCTBridge for the new init of the ReactViewController and RCTRootView? A new
object, ReactNativeBridge, creates a new RCTBridge instance and store it as a property.
The RCTBridge instance needs a RCTBridgeDelegate. Another new object, ReactNativeBridgeDelegate, will be the
delegate of the RCTBridge.
class ReactNativeBridge {
    let bridge: RCTBridge

    init() {
        bridge = RCTBridge(delegate: ReactNativeBridgeDelegate(), launchOptions: nil)
    }
}

class ReactNativeBridgeDelegate: NSObject, RCTBridgeDelegate {

    func sourceURL(for bridge: RCTBridge!) -> URL! {
        return URL(string: "http://localhost:8081/index.bundle?platform=ios")
    }
}
Now it is possible to modify the MainViewController. This controller will create a single ReactNativeBridge with a
single RCTBridge instance. This instance will be passed to the two ReactViewController. So they will basically share
the same bridge instance.
class MainViewController: UIViewController {
    private let blueViewController: ReactViewController
    private let redViewController: ReactViewController
    private let reactNativeBridge: ReactNativeBridge

    required init?(coder aDecoder: NSCoder) {
        reactNativeBridge = ReactNativeBridge()
        blueViewController = ReactViewController(moduleName: "BlueScreen",
                                                 bridge: reactNativeBridge.bridge)
        redViewController = ReactViewController(moduleName: "RedScreen",
                                                bridge: reactNativeBridge.bridge)
        super.init(coder: aDecoder)
    }

    @IBAction func showRedScreen(_ sender: Any) {
        navigationController?.pushViewController(redViewController, animated: true)
    }

    @IBAction func showBlueScreen(_ sender: Any) {
        navigationController?.pushViewController(blueViewController, animated: true)
    }
}
Now if we try to run the app again everything will work as expected:
- if we do a live reload, we will see our React components refreshed just one time
- if we press cmd + ctrl + z in the simulator 1 dev menu will be shown
- no more crashes with live reload in debug mode
The entire source code of the app used as example for this post is contained in this github repo. Now we're ready to use multiple React Native components at the same time in our app 😌.
Read next

End to end (e2e) cross platform testing for your mobile apps with Appium
·
In this post I will talk about how to use Appium to write cross platform end to end tests for you mobile apps. [...]

React Native: a simple architecture for Native Modules communication with your UIViewController on iOS
·
In this post I will talk about a simple architecture for communication between React Native Native modules (aka bridges) and your native code on iOS. [...]