
Swift Closure: demystifying @escaping and @autoclosure attributes
·
In this post I will talk about Swift closure and the potential of the @escaping and @autoclosure attributes.
As reported in the official swift documentation and as we saw in in one of my previous post, closures are:
self-contained blocks of functionality that can be passed around and used in your code. They can capture and store references to any constants and variables from the context in which they are defined.
In this post I will show you two interesting closure features: @autoclosure and @escaping.
An @escaping closure is passed as a parameter to a function, but it is not executed inside it. So, basically the
closure is executed after the function returns. The classical example is a closure being stored in a variable outside
that function.
An @autoclosure attribute can be applied to a closure parameter for a function, and automatically creates a closure
from an expression you pass in. This two attributes combined have great potential. Let's see an example where you can
avoid multiple if/switch with the use of closure and these two attributes.
You could start "abusing" closures and use them everywhere after mastering these two attributes!! :
stuck_out_tongue_winking_eye: (Maybe it's better to stay calm and don't abuse closures even after seeing this
attributes 😌).

For example we can have a UITableView and we want to execute different action for each cell displayed. If we don't use
closure and the attributes @autoclosure and @escaping, we need to distinguish the cells using the position or
eventually casting some specialization of a class used to represent the cell data. Suppose instead that each cell shows
an instance of an Operation class, defined in this way:
class Operation {
    let name: String
    let action: () -> ()

    init(name: String, action: @autoclosure @escaping () -> ()) {
        self.name = name
        self.action = action
    }
}
So, basically in the constructor we are expecting something that will be enclosed in a closure, thanks to
the @autoclosure attribute, and we store it as an instance variable of our class. We can store it because we are using
also the @escaping attribute. Now in our controller we can define an array of operation that will be the datasource to
our UITableViewController. We can pass in the constructor of each Operation instance the function that corresponds
to the operation that we want to execute. This function will be executed in the table view delegate
method public func tableView(_ tableView: UITableView, didSelectRowAt indexPath: IndexPath) by accessing the
corresponding element in the data source array, without the need to identify the exact cell type selected. Here you can
find the complete OperationsViewController:
class OperationsViewController: UITableViewController {
    var operations: [Operation] = []

    override func viewDidLoad() {
        super.viewDidLoad()
        self.operations.append(Operation(name: "Operation 1", action: self.showOrangeDetail()))
        self.operations.append(Operation(name: "Operation 2", action: self.showGreenDetail()))
    }

    //MARK: TableView Datasource

    public override func tableView(_ tableView: UITableView, numberOfRowsInSection section: Int) -> Int {
        return self.operations.count
    }

    public override func tableView(_ tableView: UITableView, cellForRowAt indexPath: IndexPath) -> UITableViewCell {
        let cell: UITableViewCell = tableView.dequeueReusableCell(withIdentifier: "OperationCell")!
        cell.textLabel?.text = self.operations[indexPath.row].name
        return cell
    }

    //MARK: TableView Delegate

    public override func tableView(_ tableView: UITableView, didSelectRowAt indexPath: IndexPath) {
        self.operations[indexPath.row].action()
    }

    //MARK: Actions

    private func showOrangeDetail() {
        self.performSegue(withIdentifier: "OrangeSegue", sender: nil)
    }

    private func showGreenDetail() {
        self.performSegue(withIdentifier: "GreenSegue", sender: nil)
    }
}
You can download the complete example here.
So basically: no if, no switch, only love ❤️ for @autoclosure and @escaping 😍.
Read next

Creating Stunning Gradients in React Native with Skia
·
Learn how to create stunning text with React Native using React Native Skia. In this post, we’ll explore how to leverage Skia’s powerful features to bring vibrant gradients to life. [...]
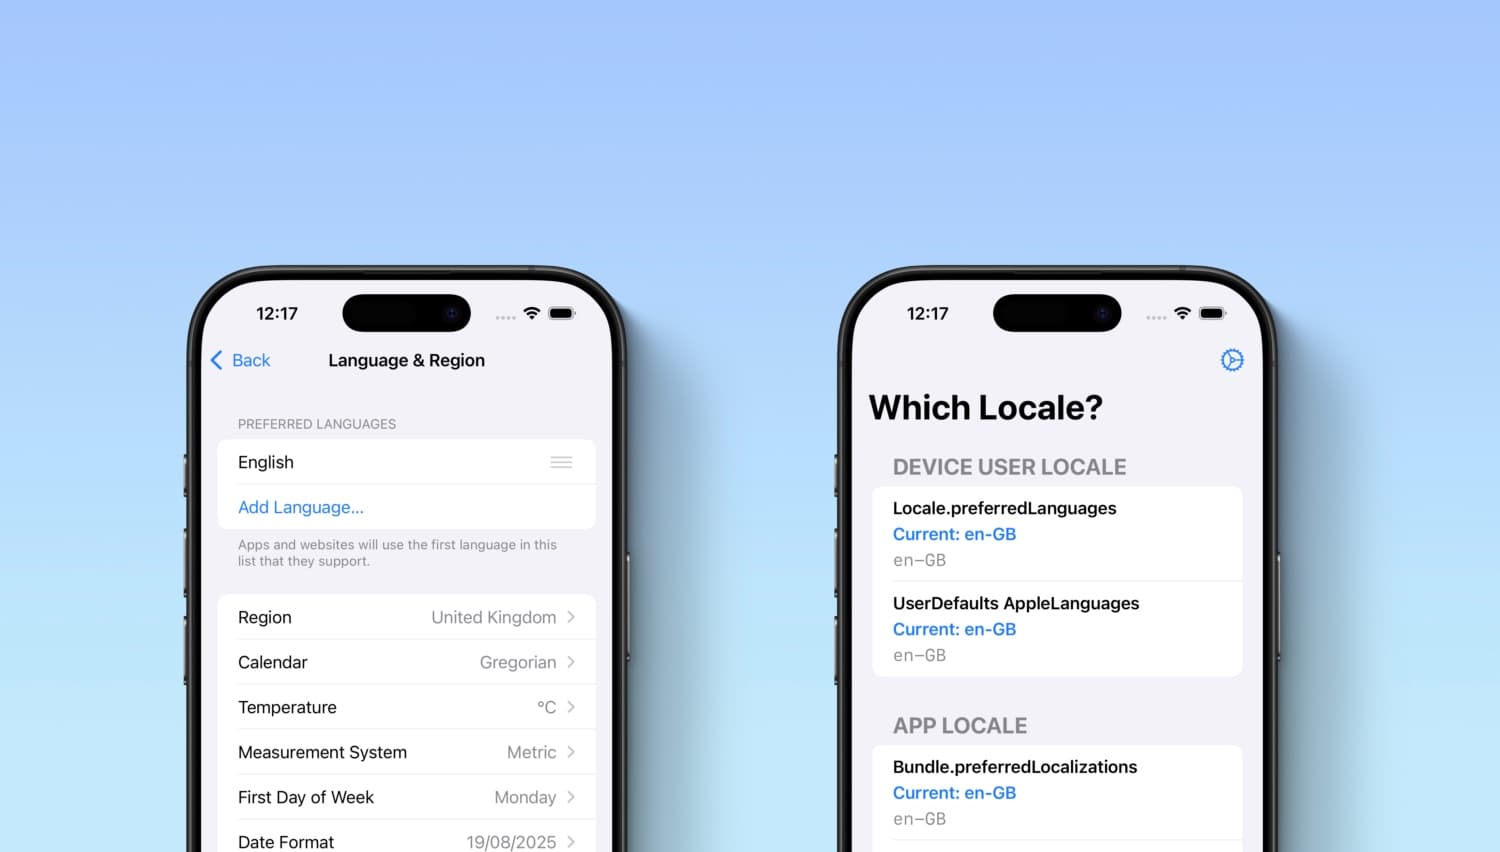
Which Locale? Decoding the Madness Behind iOS Localization and Language Preferences
·
iOS localization is a wild ride where device and app locales play by their own rules. Under the hood, Apple uses CLDR/ICU language distance matching to pick the best locale for your app. Let’s decode the madness together. [...]